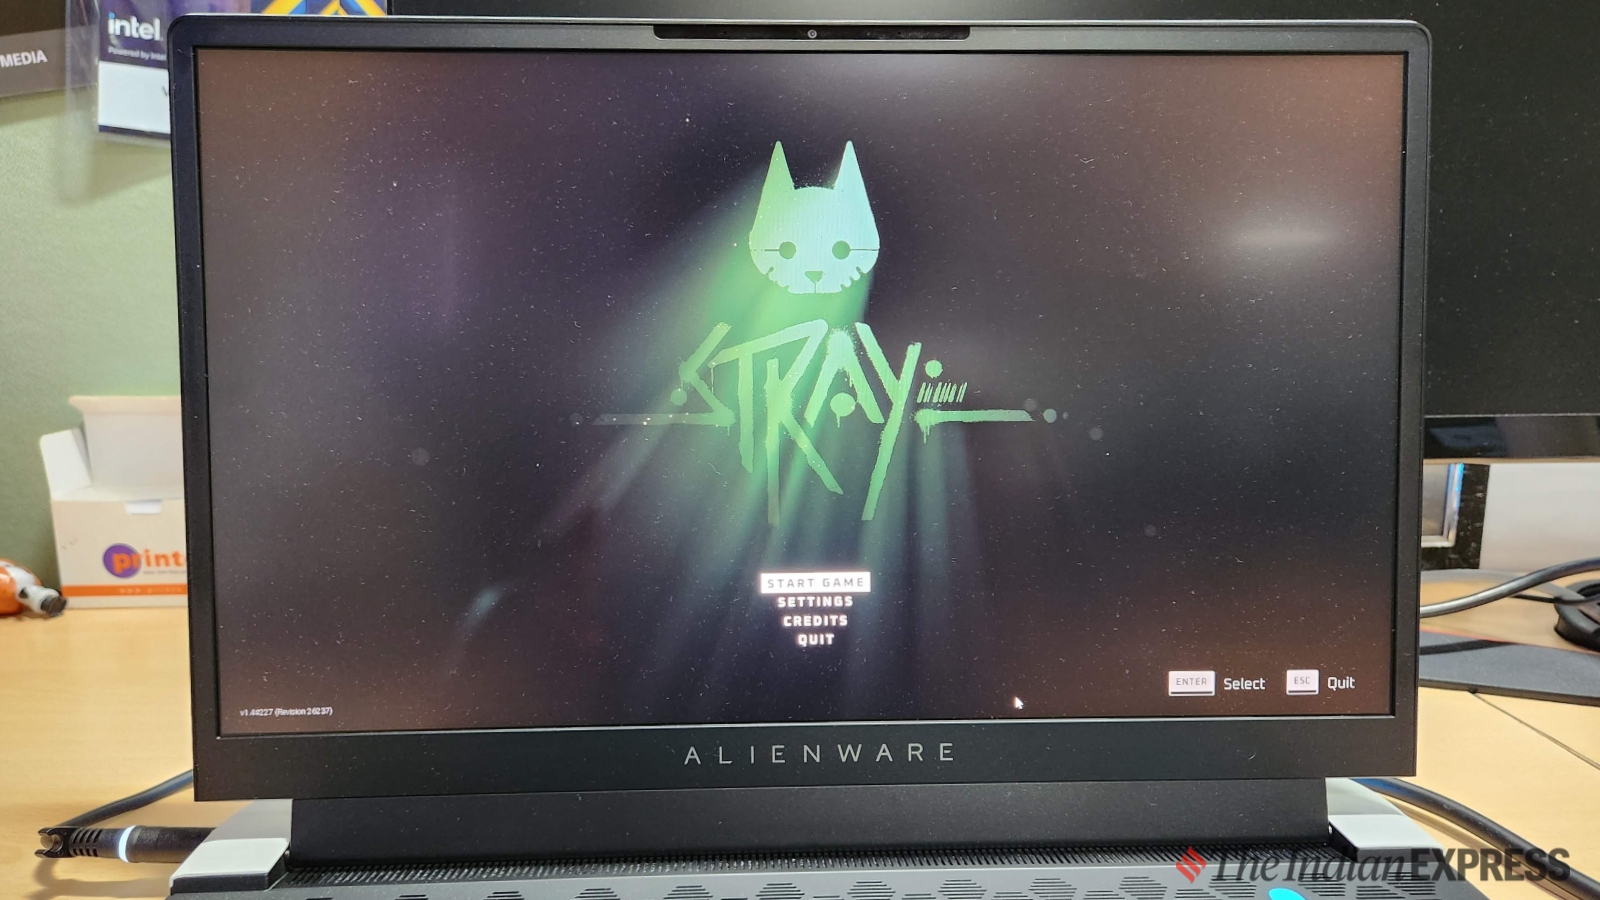
Gaming laptops are renowned for their superior refresh rate displays, with many contemporary models boasting refresh rates of at least 120Hz and some even reaching up to 360Hz. This higher refresh rate yields smoother in-game visuals, especially when paired with a potent CPU and graphics capabilities. While some gaming laptops may adjust the refresh rate to conserve power, knowing how to select the optimal refresh rate is crucial for enhancing your gaming experience.
Changing the refresh rate on a Windows 11 gaming laptop is an effortless task. Simply right-click on the home screen and select ‘Display settings’ to access the advanced display options. From there, you can choose a refresh rate from the drop-down menu. Opting for a higher refresh rate, such as 144Hz, can provide a smoother gaming experience. After making your selection, the screen may momentarily turn black before confirming the changes.
An alternative method for adjusting the refresh rate on a Windows laptop involves accessing the ‘Display adapter properties for display 1’ from the display settings menu. From there, selecting the monitor option allows you to choose from a variety of refresh rate options, giving you greater control over the display settings. While this method may be more detailed, it offers an opportunity to fine-tune the refresh rate for optimal gaming performance.
In conclusion, changing the refresh rate on a gaming laptop running Windows 11 is an easy process that can significantly enhance your gaming experience. Whether you prefer a simple or detailed approach, selecting the appropriate refresh rate will provide you with smoother in-game visuals and improved performance.


